This post and the photos within it may contain affiliate links. If you purchase something through the link, I may receive a commission at no cost to you. Read my disclosure for more info.
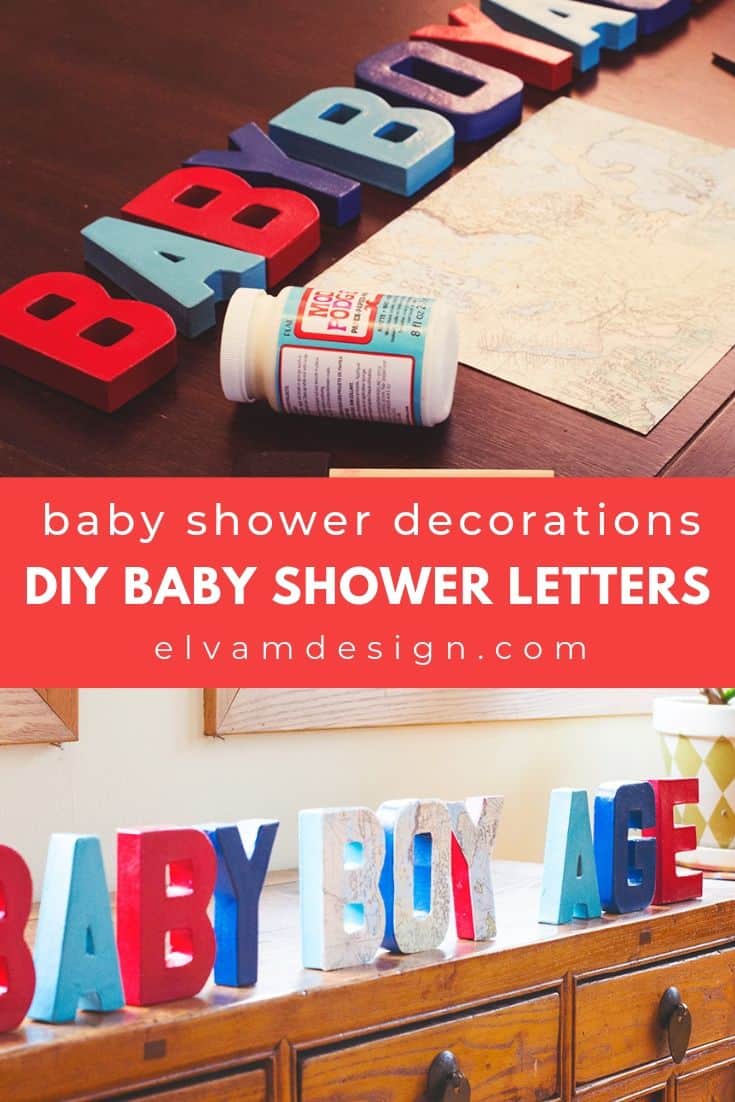
I have been getting into more DIY crafting lately and I’m so excited to share these fun DIY Baby Shower letters that I recently made for a baby shower I co-hosted.
The baby shower theme was “Baby BOY-age” and I thought it would be fun to create letters with this phrase, and do a travel theme, using map paper.
DIY Baby Shower Letters
Materials needed for the DIY Baby Shower Letters:
- Paper mache letters
- Spray paint
- Map scrapbook paper
- Mod Podge
- Foam brush
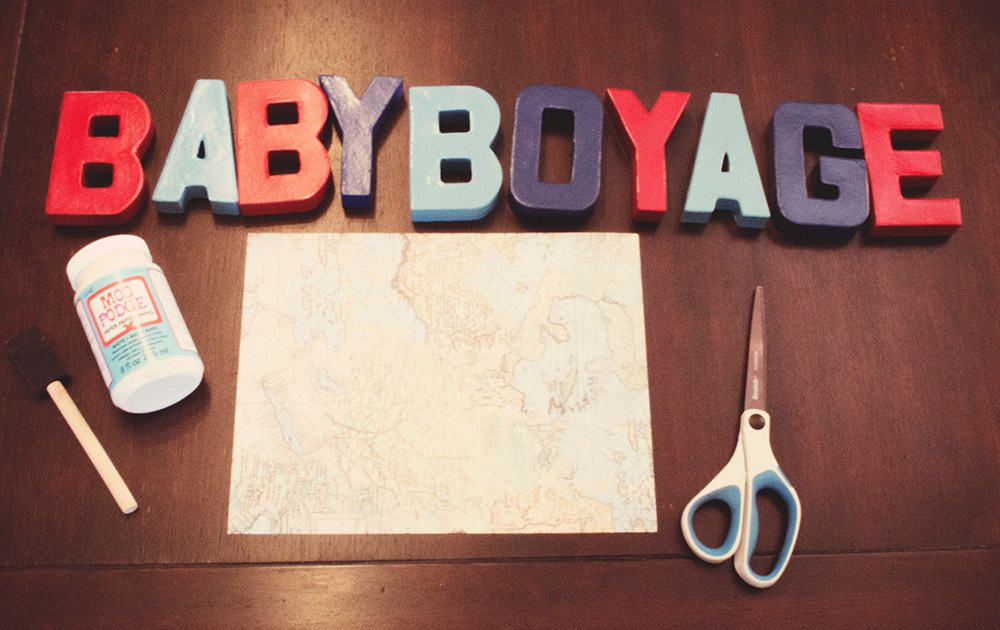
I didn’t remember to take a picture of the supplies before I started, but the paper mache letters start out kraft colored and are made of a cardboard, construction paper type material.
They are available at most kraft stores in a variety of sizes, but typically 8″ or 16″. I chose the smaller letter size, since I was spelling out a longer phrase.
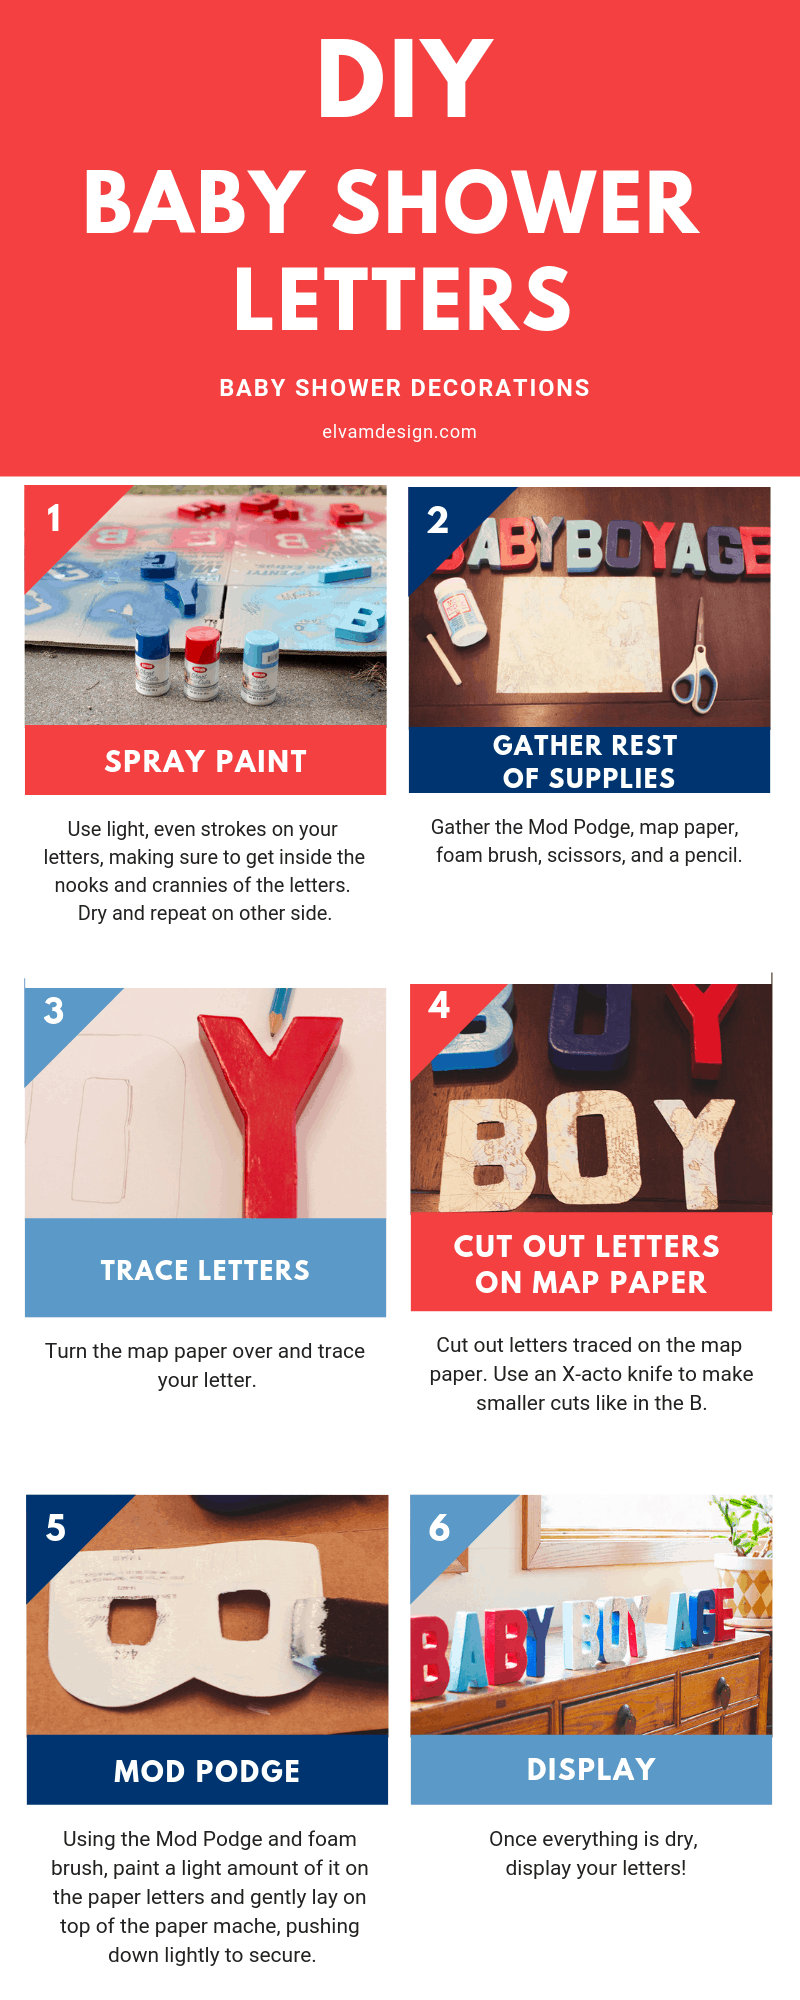
Step 1: Spray Paint
I spray painted these outside in the middle of February in Minnesota. Let me say that again. In February. In Minnesota. Brr! I pulled out some cardboard and got to work in the backyard.
Use light, even strokes on your letters, making sure to get inside the nooks and crannies of the letters. I did one side, waited about 30 minutes and then turned them over and sprayed the back.
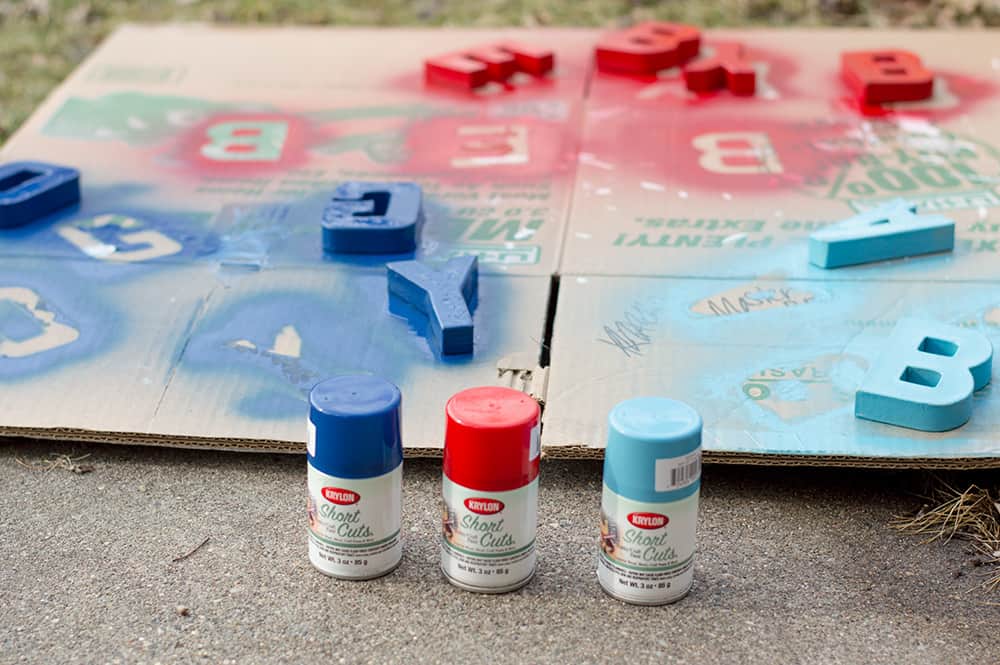
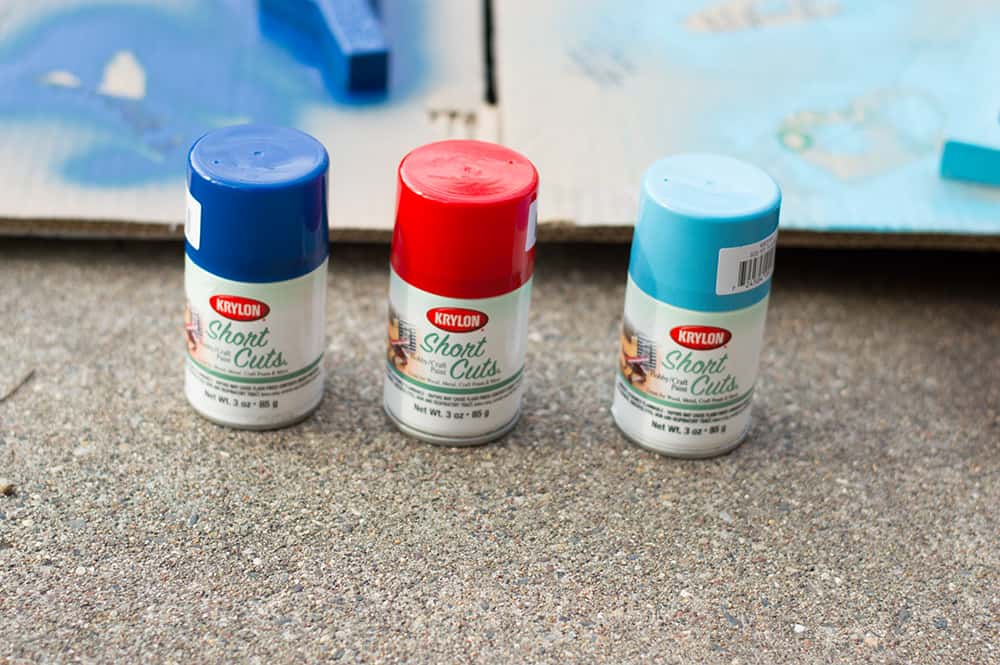
These Short Cuts from the Krylon brand are the perfect size. I love that you don’t have to commit to the full size and then not know what to do with the left overs. Though these colors look so good together I’m pretty sure I could find other projects!
Step 2: Gather the rest of your supplies
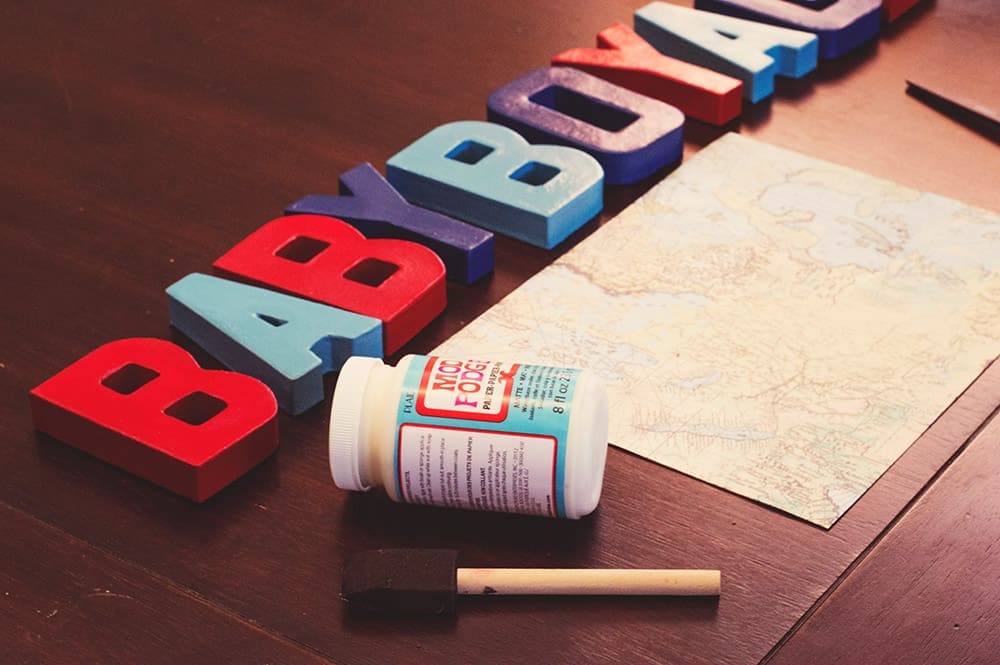
Once your letters are dried, you are ready to follow the rest of the steps. Gather the Mod Podge, map paper, your foam brush and scissors. Oh and a pencil will be necessary to trace the letters.
Step 3: Trace Letters
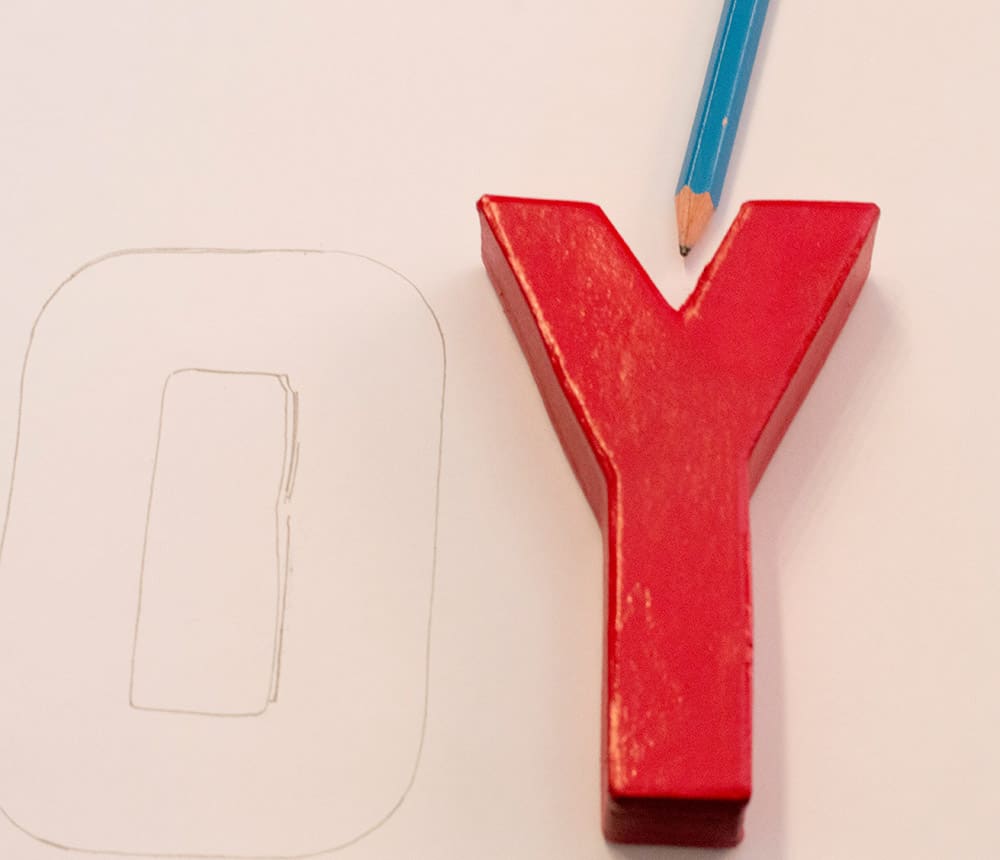
Place one letter at a time on the map scrap book paper. I turned the paper around and then traced on the backside.
Step 4: Cut out letters on map paper
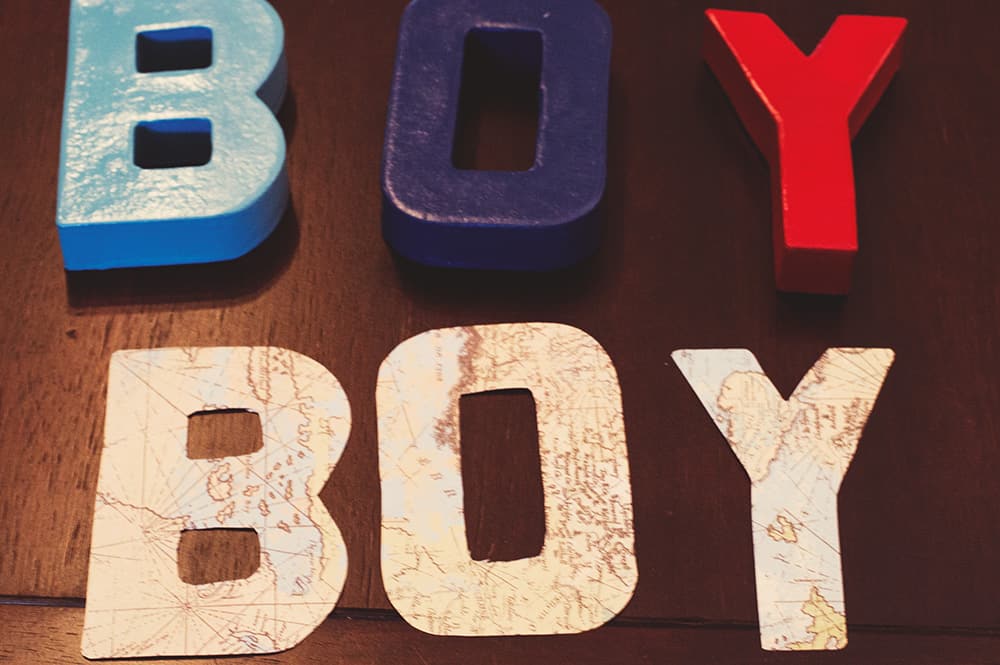
Cut out letters traced on the map paper. You might need to use an X-acto knife to make smaller cuts like in the B.
Step 5: Mod Podge the paper letters to the paper mache letters
This is my first time using Mod Podge and I’m hooked! I can’t wait to try out all the wonderful things I’ve heard it can do. I’d love to hear about your favorite projects and any tips in the comments.
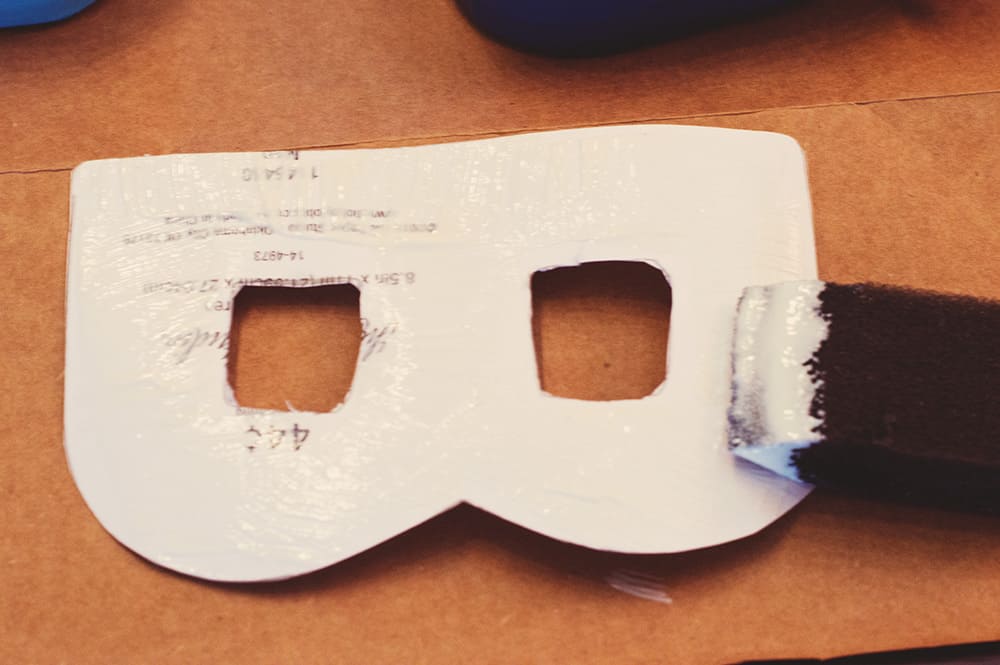
Using the Mod Podge and your foam brush, paint a light amount of it on the paper letters and gently lay on top of the paper mache, pushing down lightly to secure.
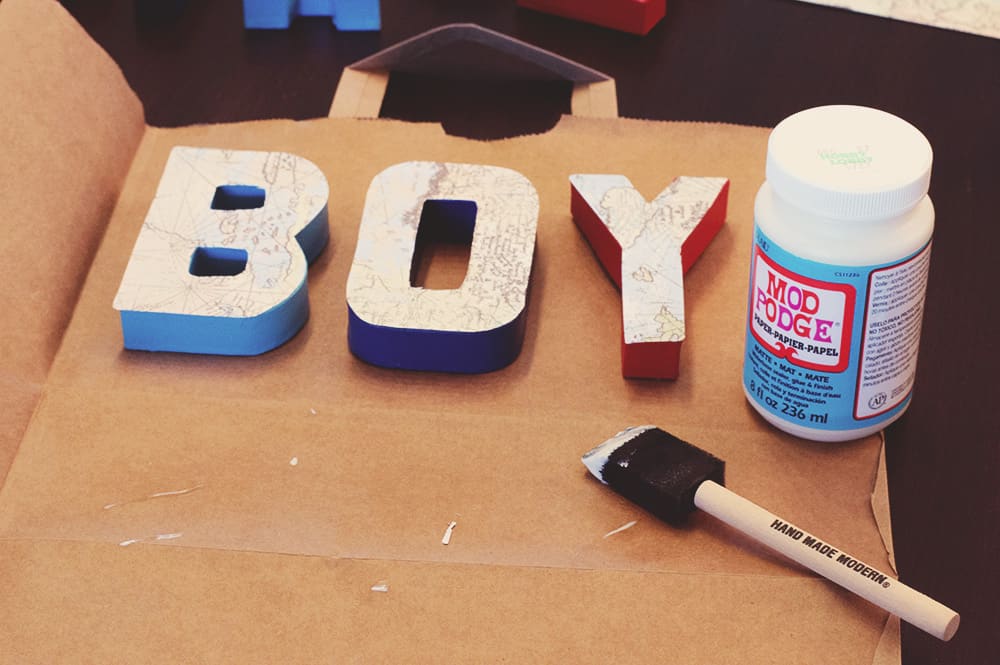
I decided to only attach the map paper to the word “boy” for my DIY Baby Shower Letters.
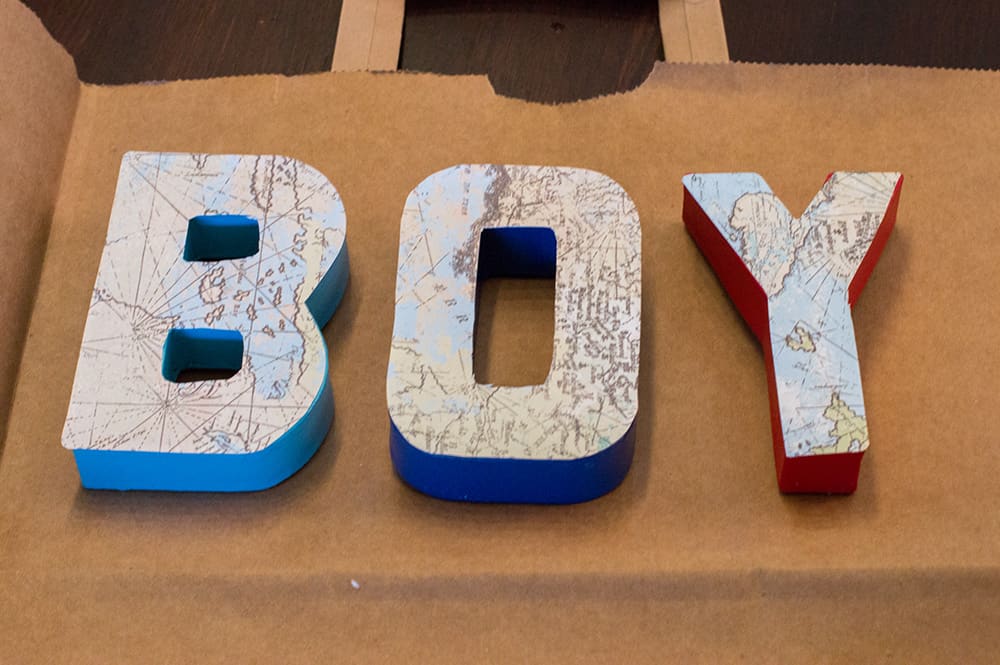
Let everything dry and then you are ready to display.
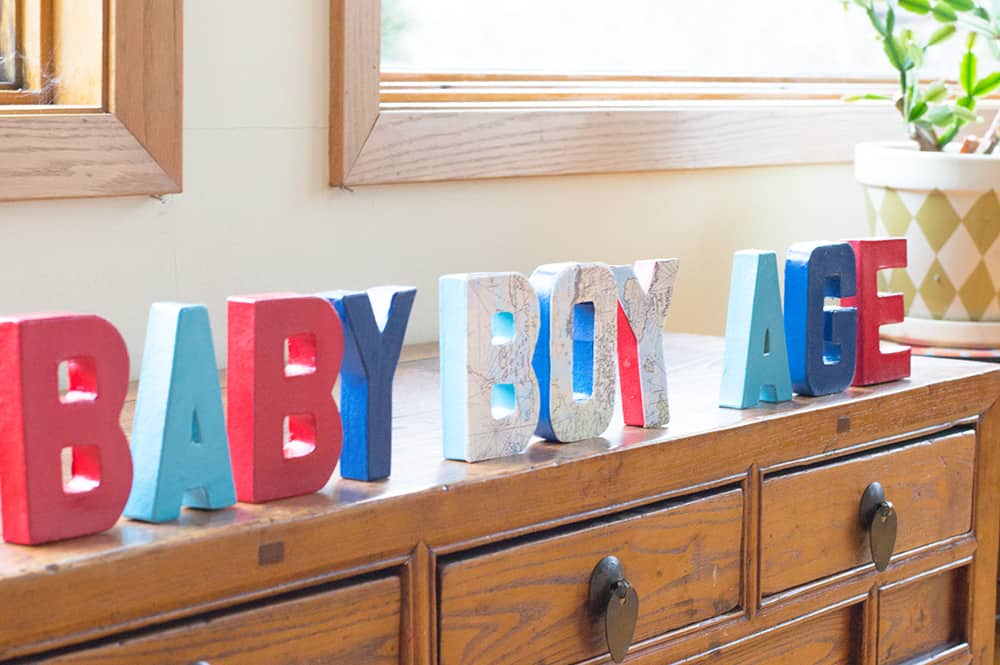
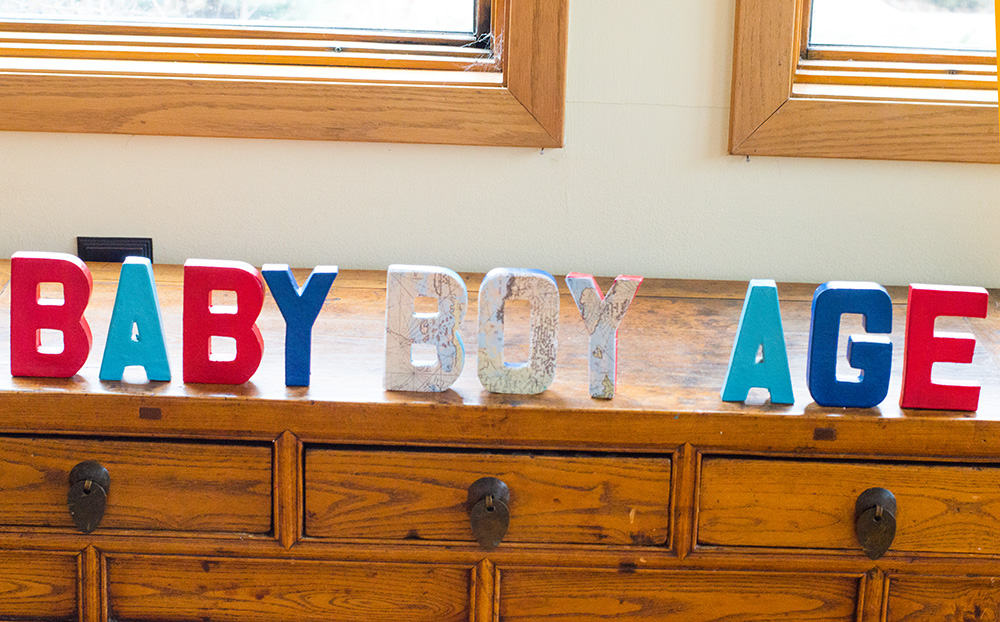
I’m excited to do more crafting for future parties. It’s really not as hard as you might think, and I love that it brings a special touch to my parties.
I hope you found this tutorial easy to follow along. Let me know what you plan on creating, I’d love to see!

If you like what you see, please COMMENT, PIN, SHARE, or TWEET! I’d appreciate the love!

One Comment